
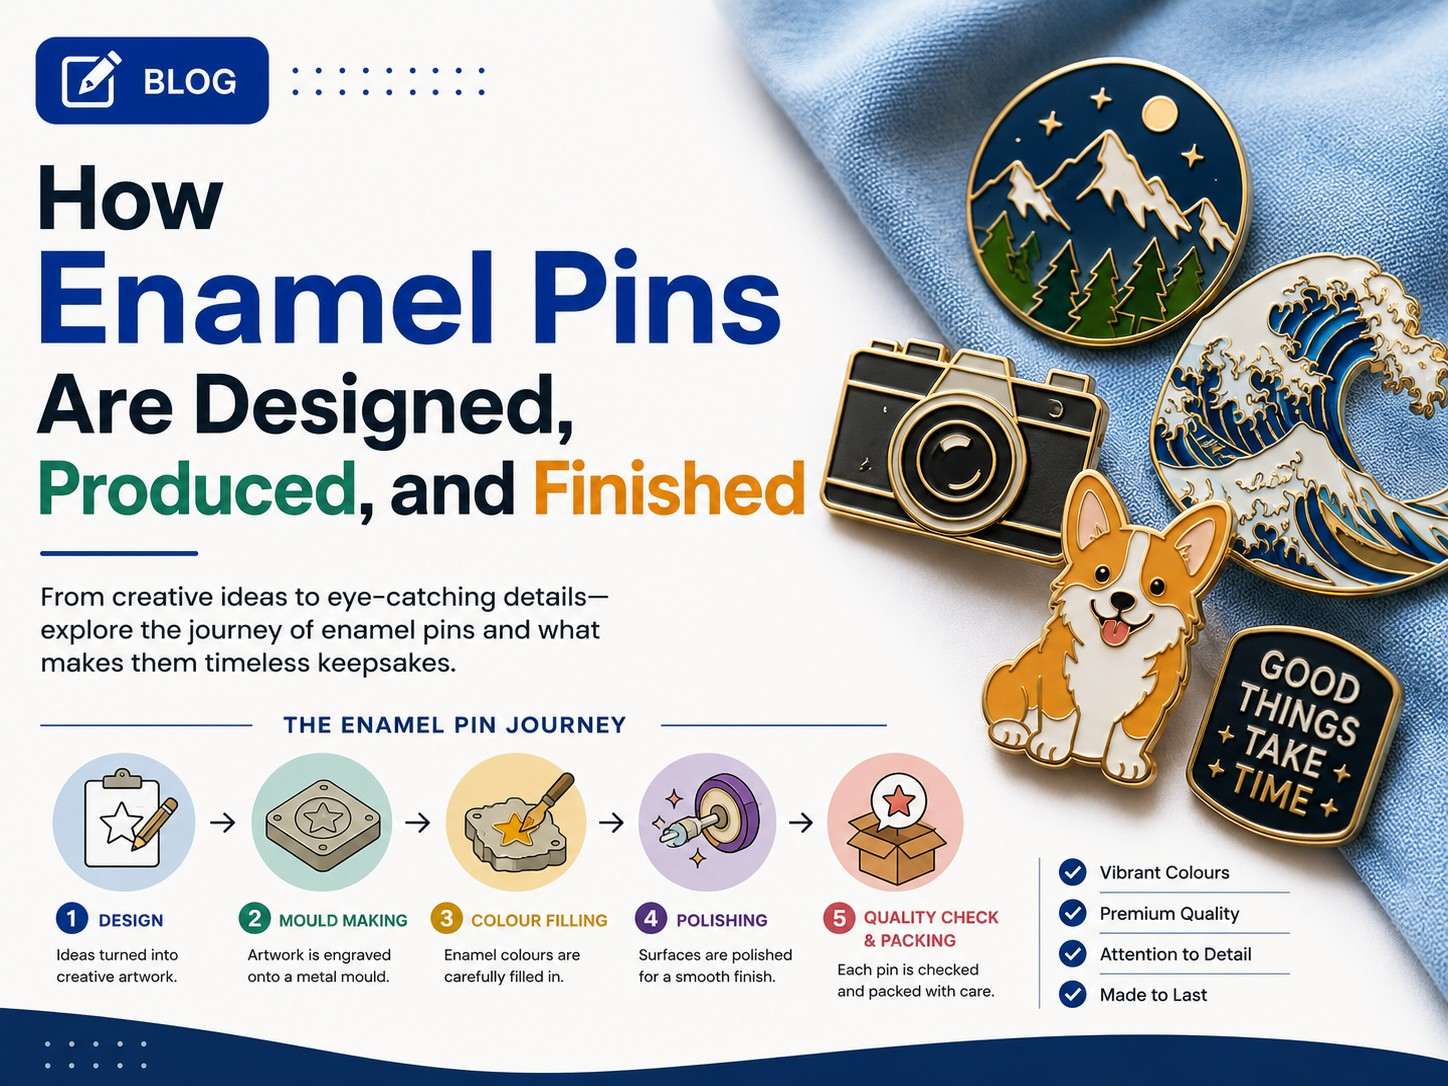
How Enamel Pins Are Designed, Produced, and Finished
You may see an enamel pin as an ordinary trinket, but turning a digital illustration into a finished pin requires several carefully planned steps. First, the artwork must be prepared and a metal base created. The application of enamel and plating comes next, followed by polishing and connecting the backing. Every step in the process can impact the quality and look of the finish.
In soft enamel, the enamel is in a recess lower than the metal ridges of the pin, while hard enamel is smooth and shiny. The end product quality is determined by the artwork quality and the manufacturer’s production capabilities.
How Are Enamel Pins Designed?
In creating enamel pins, a designer begins with the design. An enamel pin designer produces vector-based drawings that give clear information regarding the shape, colours, metal borders, and necessary features.
Unlike art that is only meant to be presented on computers and screens, enamel pin design art should be suitable for the purpose of production.
Before production begins, the design should establish:
● Overall pin dimensions
● Number of enamel colours
● Metal border thickness
● Desired plating finish
● Pin shape
● Backing type
A good enamel pin design balances visual detail with manufacturing practicality.
Next Steps After Approval of Design
After the artwork is completed, the manufacturer produces a proof and makes a die or mould to be used in the production of the design. The mould has the actual shape of the design and marks the locations of the raised parts of the metal and the areas with enamel that will be lowered into the metal.
The mould is usually produced using precision engraving or CNC equipment. Because the mould affects every pin in the production run, carefully reviewing the proof is important. At this point, designers must identify problems like wrong colours, missing elements, wrong sizes, or text too small to be printed properly.
Enamel Pin Production Methods
During the Enamel PIN Manufacturing Process, the metal gets shaped using a die. Based on the type of production method and requirements of the product, the materials can be iron, brass, or zinc alloy.
The stamping process is responsible for producing the embossed metal shapes that serve as the point where the parts get separated. The recessed areas between the shapes get filled with enamel during the production process.
At this stage, the metal part is shaped as desired. Some designs use straightforward geometric shapes, while other designs require unique shapes that conform to the art created. The pin is now in its basic physical form but still requires plating, colouring, finishing, and assembling.
Key Differences Between Soft and Hard Enamel Pins
Soft enamel pins differ from hard enamel pins in terms of surface finish. In the case of soft enamel pins, the colour of the enamel is recessed relative to the metal surfaces. It also leaves an impression of having a texture over it. Whereas hard enamel goes through filling and refining until it becomes level with the metal parts of the pin.
| Feature | Soft Enamel | Hard Enamel |
| Surface | Textured | Smooth |
| Enamel level | Below metal borders | Level with metal |
| Appearance | Bold and tactile | Refined and polished |
| Detail effect | Strong metal outlines | Cleaner, seamless surface |
| Common use | Promotional items, merchandise | Premium branding, collectibles |
No option is truly better overall. The choice of which option to use is determined by the specifications and budget as well as the purpose of the pin.
How Are Enamel Pins Made?
After the enamel process is finished, the metal is plated after it is exposed. Common finishes include gold, silver, nickel, black nickel, copper, or an antiqued finish. A plated finish can greatly alter the finished design. For instance, a bright gold finish makes it look very costly, whereas black nickel will help make it stand out against vibrant coloured enamel.
The finishing process is also different between soft enamel and hard enamel. Generally, hard enamel requires more sanding and polishing to obtain the required smooth finish. Additionally, some manufacturers offer an epoxy finish, which is simply a coat of transparency placed over the enamel.
How Is the Pin Backing Attached?
The backing material is then put on the pin after all the other decorative elements have been done. This enables the pin to be secured onto any type of cloth.
Common backing options include:
● Butterfly clutches
● Rubber clutches
● Magnetic backs
● Screw-and-post backings
● Locking pin backs
Choosing the right option is determined by the intended use of the pin. A giveaway pin may just need a simple clutch, while a collectable pin would need a more secure or specialised form of backing. You can also use any form of custom-made backing cards and packages to pack your merchandise.
How Is Quality in Enamel Pins Assured?
One of the processes of manufacturing involves quality control. Quality control means making sure that the whole batch of the finished pins is in accordance with the design.
Typical checks include:
● Enamel colour consistency
● Uneven or missing enamel
● Scratches and surface damage
● Plating quality
● Sharp or unfinished edges
● Correct dimensions
● Proper backing attachment
● Overall design accuracy
For larger orders, inspecting the batch rather than checking only one sample is particularly important. Sometimes minor discrepancies may be more apparent when several pins are shown at once.
How to Select the Correct Customised Badge Maker?
The choice of a good custom badge maker can make as much difference as the design itself. When ordering, think about whether the manufacturer:
● Provides a digital or physical production proof
● Offers multiple enamel and plating options
● Can handle custom shapes
● Explains minimum order quantities clearly
● Has a defined quality-control process
● Communicates production requirements before manufacturing
● Can provide samples when needed
The designer should be willing to show any problems associated with production and not only approve of designs that might be difficult to incorporate into metals and enamel.
To Conclude!
The transition from a work of art to a finished enamel pin involves many steps beyond just colouring the metal. The conversion process involves preparation of designs for production, followed by mould making, metal shaping, plating, enamel filling, curing, polishing, mounting, and quality inspection.
The knowledge of several steps involved in enamel component manufacturing helps customers realise their projects more accurately and choose the right finish. Hence, whether the finished product is used for promotional purposes, branded products, collection items, or event badges, everything begins with careful design and reliable manufacturing.
Frequently Asked Questions
Q/A How much time does it take to manufacture enamel pins?
It will take some time to make enamel pins depending on the material used to make the pin and the design of the pins. The production of custom-made moulds and larger orders normally takes more time than when simpler designs and smaller orders are made.
Q/A Is metal the main material used for enamel pins?
Indeed, enamel pins consist of metal materials. In some cases, enamel pins may be entirely made of one type of metal such as steel or copper. The type of enamel that is better depends on its intended use.
Q/A Can detailed artwork be used for enamel pins?
Yes, but very small text, extremely thin lines, and complicated details may need to be simplified. Artwork should always be reviewed at the intended physical size before production.
Q/A Can enamel pins have custom shapes?
Yes! With custom-made moulds, manufacturers are able to make any shape of pin rather than limiting their designs to only rounds, squares, and rectangles.
Q/A What should I provide to an enamel pin manufacturer?
You should typically provide finalised artwork, dimensions, colour specifications, preferred metal or plating finish, quantity, enamel type, backing preference, and any packaging requirements.

I am a professional blog writer at pinbadges.com.au. I love to cover custom pin design trends, corporate branding tips, and the craftsmanship behind lapel pins, hat pins, and challenge coins. I enjoy writing about how small accessories can make a big impact for brands, teams, and events across Australia. In my free time, I explore local design studios and keep up with the latest in custom merchandise trends.